User interface in depth
Support > Easy Digital Album Get Started > User interface in depth
Learn how to navigate and use the Easy Digital Album workspace
The Albums Form
When you launch Easy Digital Album, the first screen that appears is the Albums Form. From this form you can do the following:
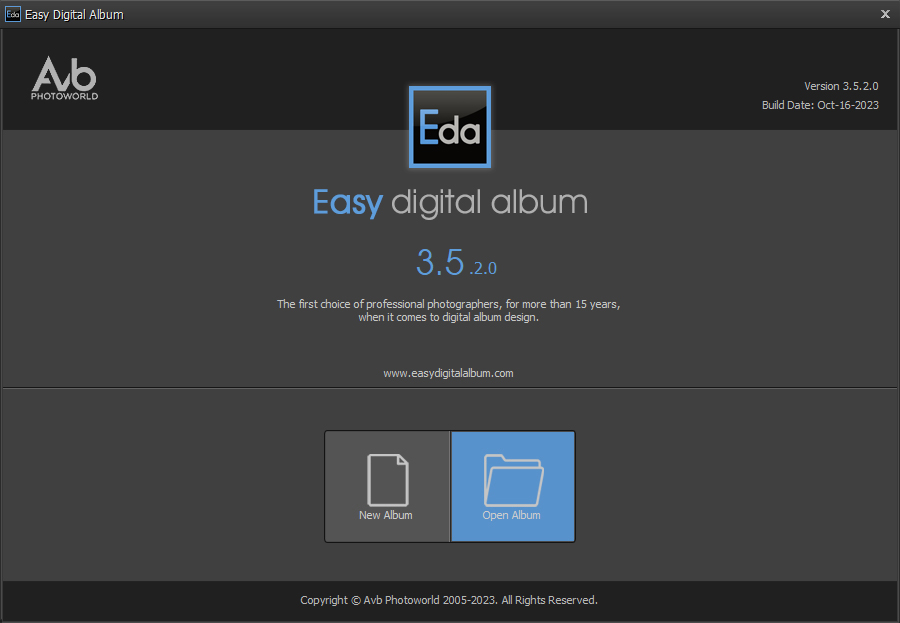
- Create new albums and projects like DVD cases, cards, invitations e.t.c.
- Open and manage all the albums and projects you have already created, like:
- Delete an album.
- Duplicate an album.
- Change the aspect ratio of an album and its properties.
- Export it for use on another computer or import it from another computer.
To access the Albums Form at any point while working on an album, select from the main menu Open Album or New Album.
The Import/Organize Panel
The Import/Organize panel appears just after you have created an album. From this panel you can import and manage your images. You can organize them in groups, so it's easier to find the shots you are looking for, when creating your layouts. In this panel you also have the option of selecting your best images, by using our digital magnifier and applying color labels in them, if you haven't done already in any other application before importing them in EDA.
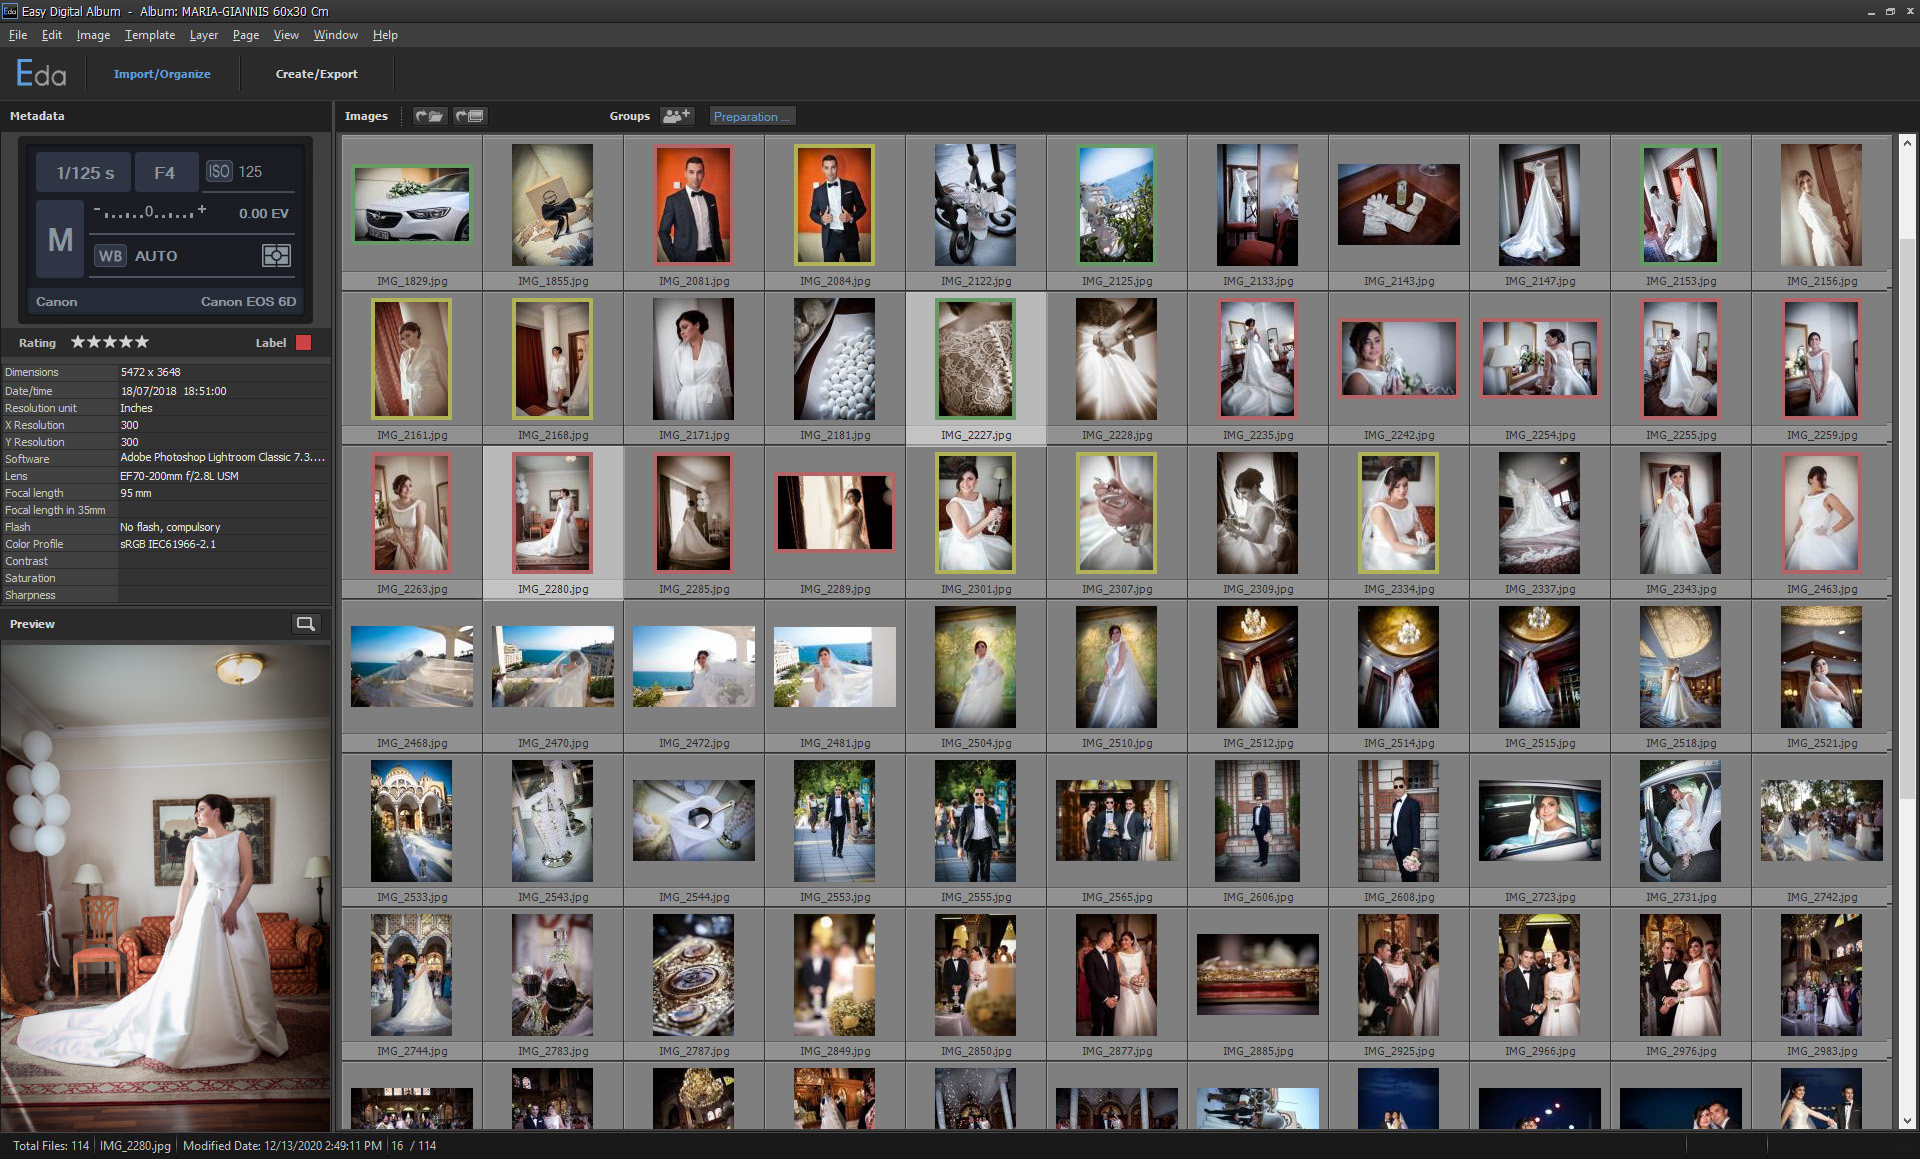
Metadata Panel

Groups
Organize your images in groups
Color Labels
To apply color labels in your images use the numerical keypad on your keyboard, by using the following keys:
1= Red, 2=Yellow, 3=Green, 4=Blue, 5=Violet and 0 to remove all labels.

The Create Panel
After you have imported your images it is time to start creating your layouts. The Create panel is where you can do just that, design and edit any of your layouts.
This panel is consist of 4 sections: On the right side of the panel, in a Tab group, is your Group of images, as you have organized them in the Import/Organize panel, your layer Properties and your Graphics.
On the top side you will find the Templates of each category. On the bottom side are the layouts-pages you save and in the center of the panel is the stage, where you create your pages.
Note that the top and bottom sections, the Templates and the finished Pages can be opened or closed by the corresponding arrows, so you have more room for the design process.

On the bottom side of the Groups panel, are located your sorting filters that allow you to sort your images. You can sort them by Rating, Color label, Width or Height and also see the images that have already been used or not.

You can create pages based on templates or you can start from a blank page. Either way you have many options.
When starting from scratch, you can add custom size layers and use the new, improved cut layers tool, to create difficult layouts in a matter of a few seconds.
When you drag images on an empty page a layout is created automatically, based on the number and orientation of your images. You can cycle though many different templates for each image combination.

You can customize the layouts by adding properties like Stroke & Shadow, or Backgrounds, Masks, Graphics, Overlays, Text etc.

And you can use our color picker and all the alignment options to give them the look that you like.
You can also save any layout you create as a Template for future use.
The Export Form
You have created your amazing layouts and you want to export them in high resolution files for printing. This is the time for the mighty, Export Pages form, of EDA.

This form allows you to export your layouts in many different sizes and in various formats, with the most powerful of EDA, the PSD file extension. You can also export your pages in JPG, TIF, and PNG files.
The form allows you to export just a few of the pages, if you select them, or all the pages you have created.
You can select the color profile for the pages to be exported and the size you want to export them. Note that regardless of the size you have chosen initially you can export the pages, in multiple sizes that fall in the same aspect ratio, etc 20x40cm, 30x60cm, 35x70cm, 40x80cm and any size between. Without any loss in quality, thanks to the smart image management of EDA.
Apart form that you can also change the aspect ratio of all the pages with the click of a button. EDA can save you a lot of time and frustration in the case of a mistake or misunderstanding between you and your client.